
Boost your conversion rate
It's no secret that turning a lead into a customer is hard. Learn how to increase your conversion rate and make the most of your marketing efforts.

Nishant Chandla

Nishant Chandla

Let's dive in!
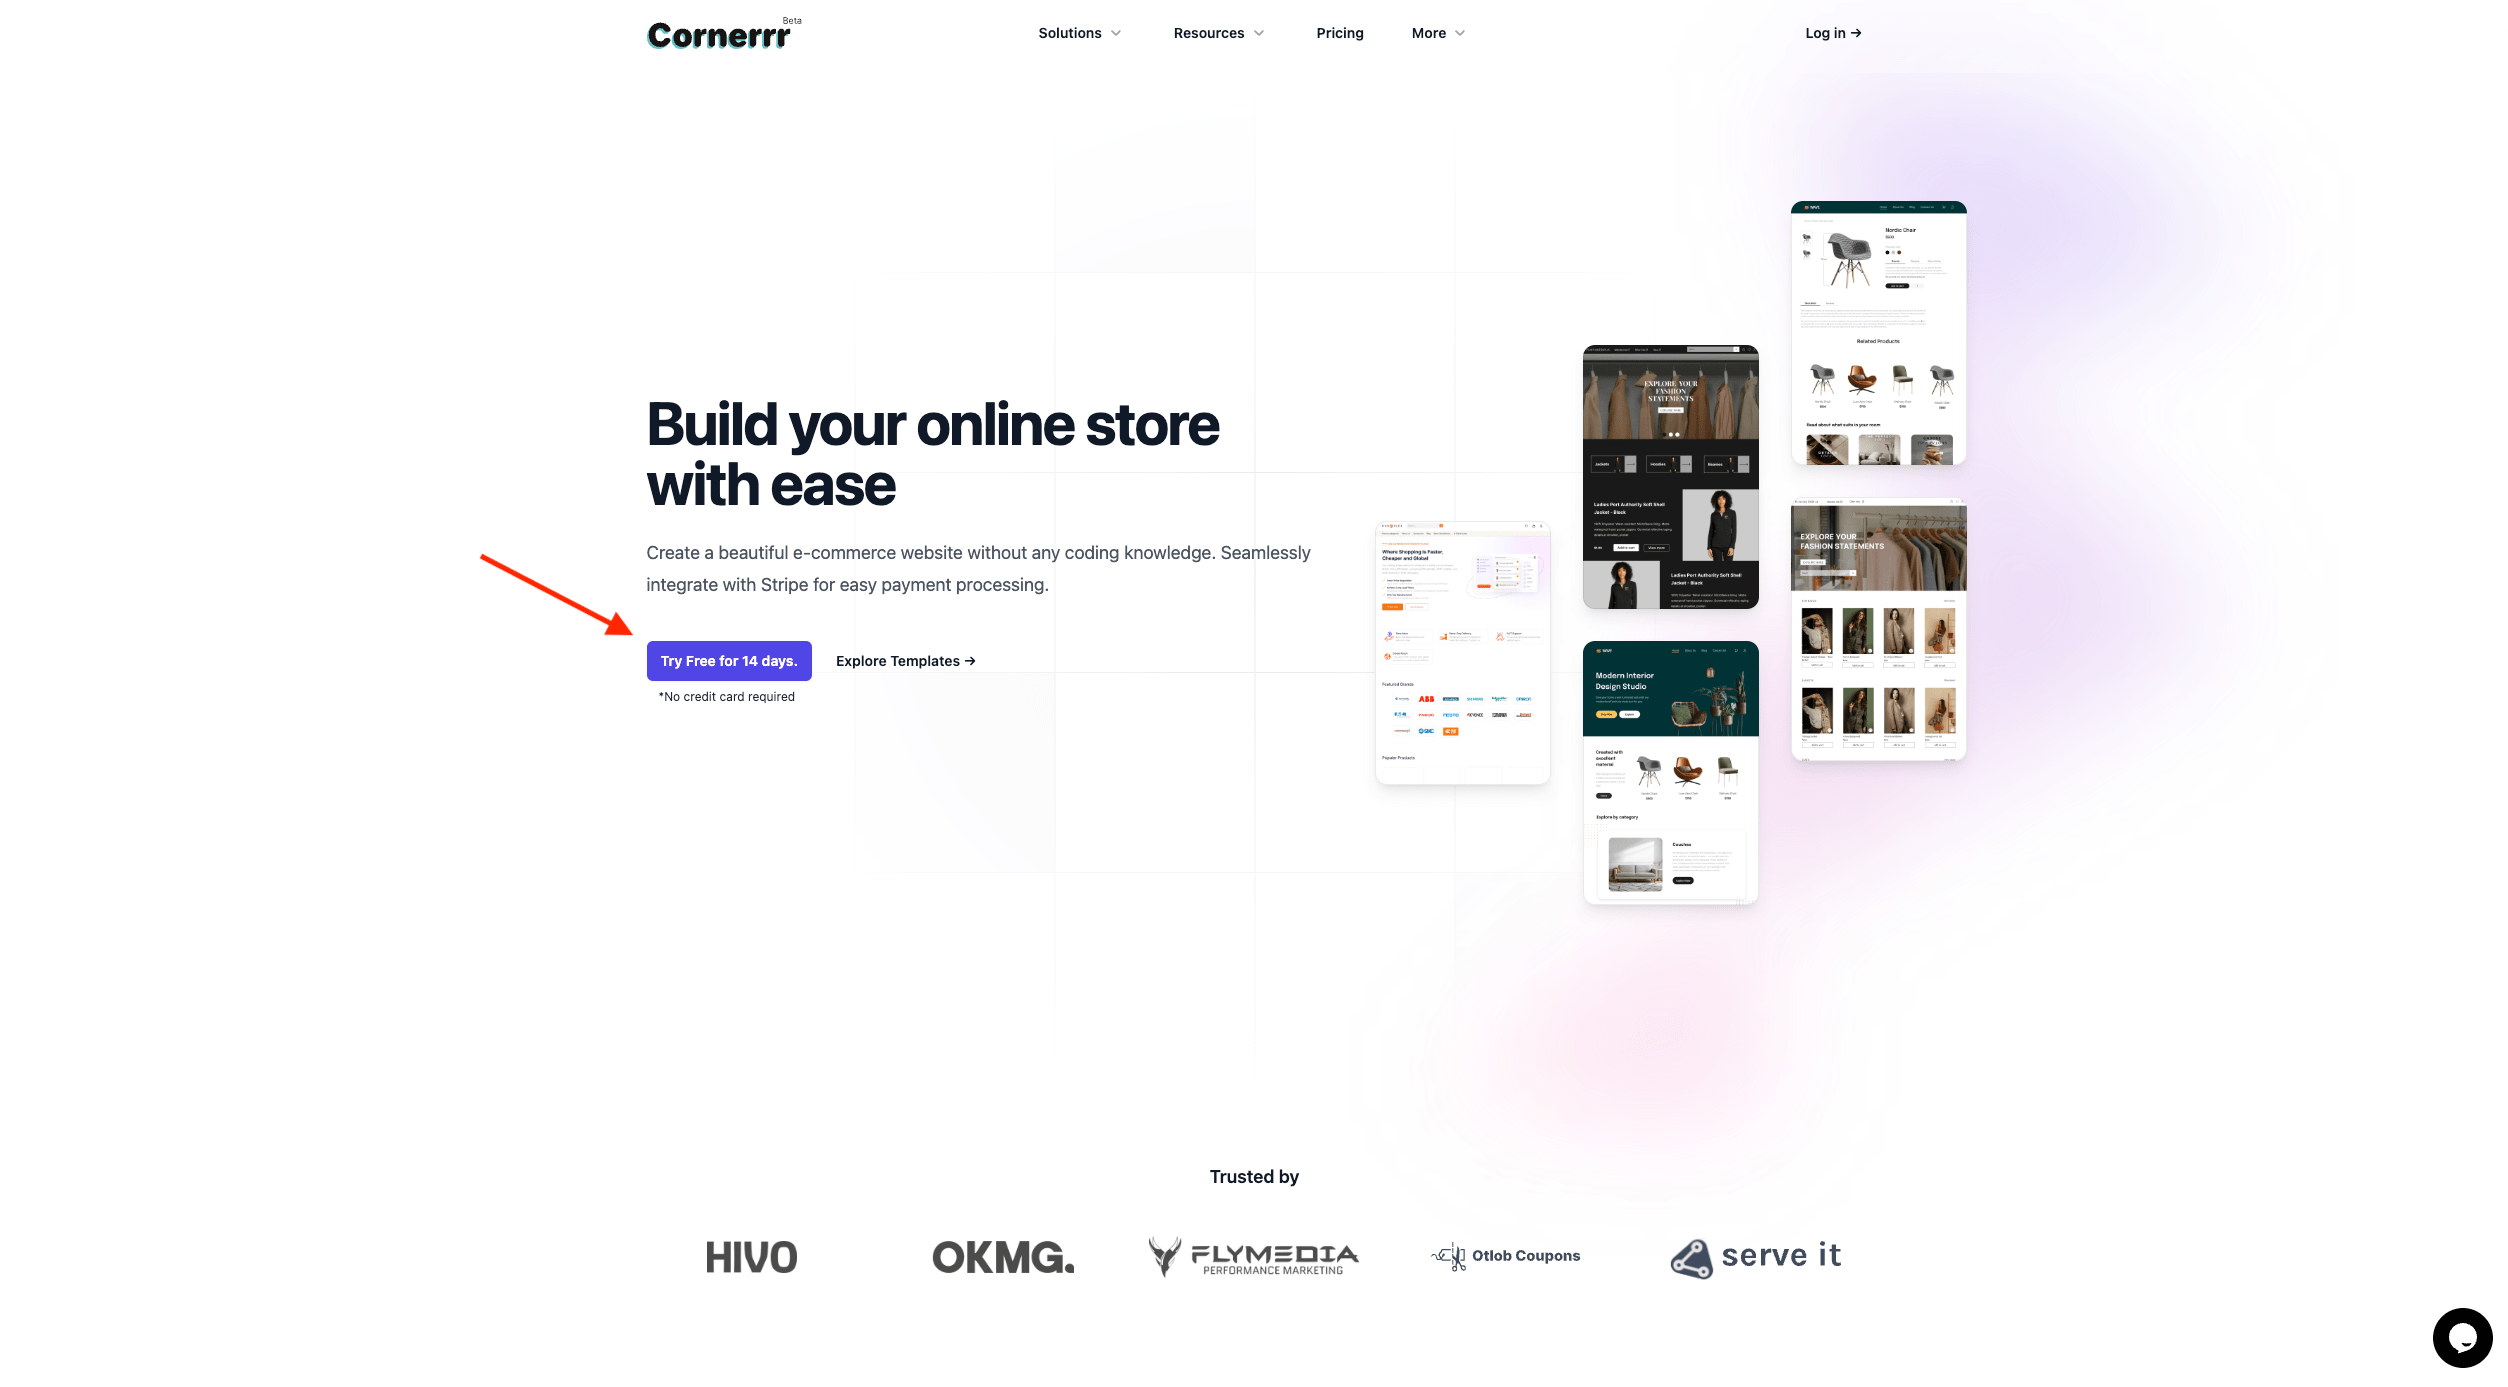 To get started, navigate to the Cornerrr onboarding page. Here, you will kick off the process of setting up your store.
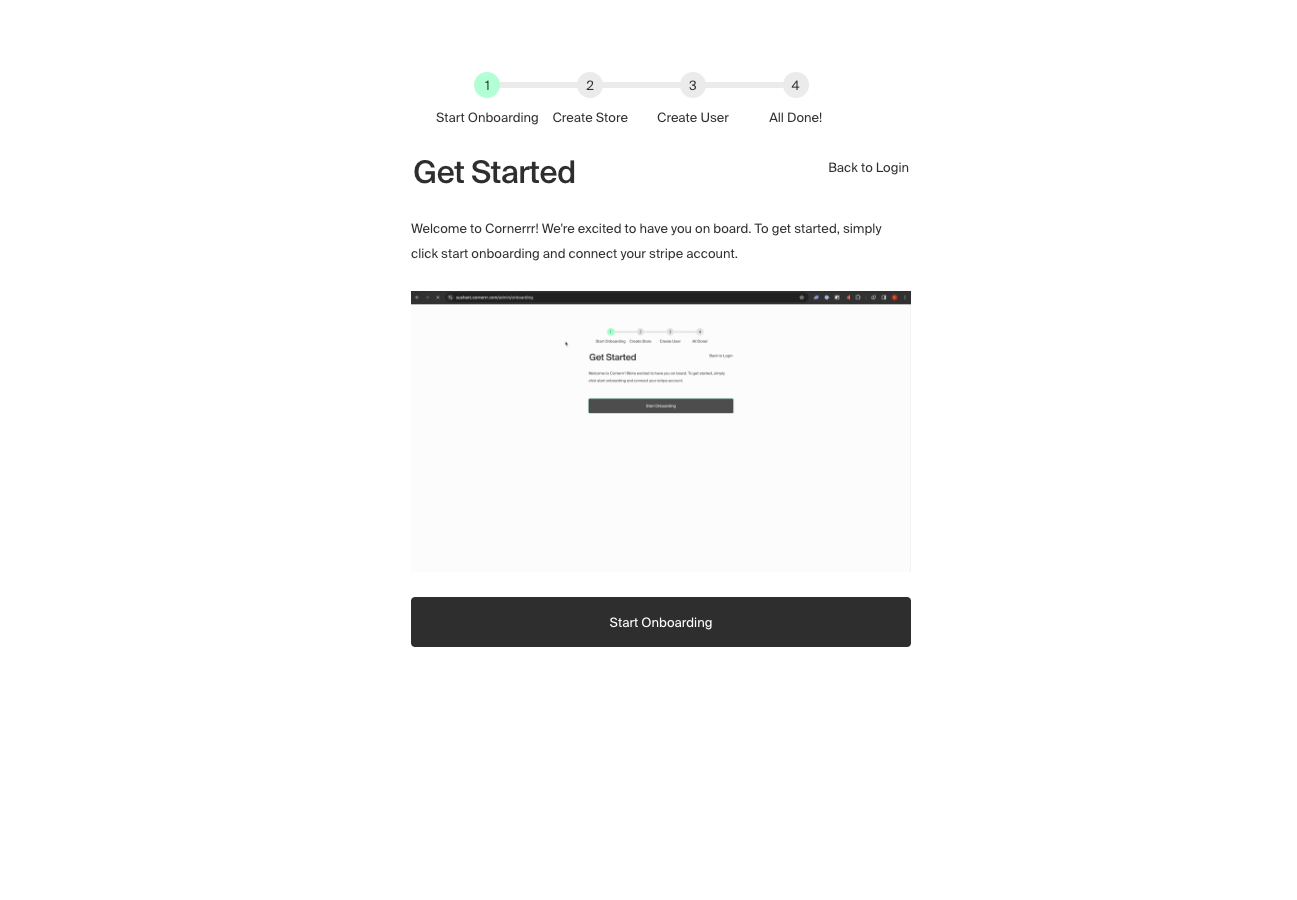 Once on the onboarding page, click on the Start Onboarding button. This will initiate the setup process and guide you through the necessary steps.
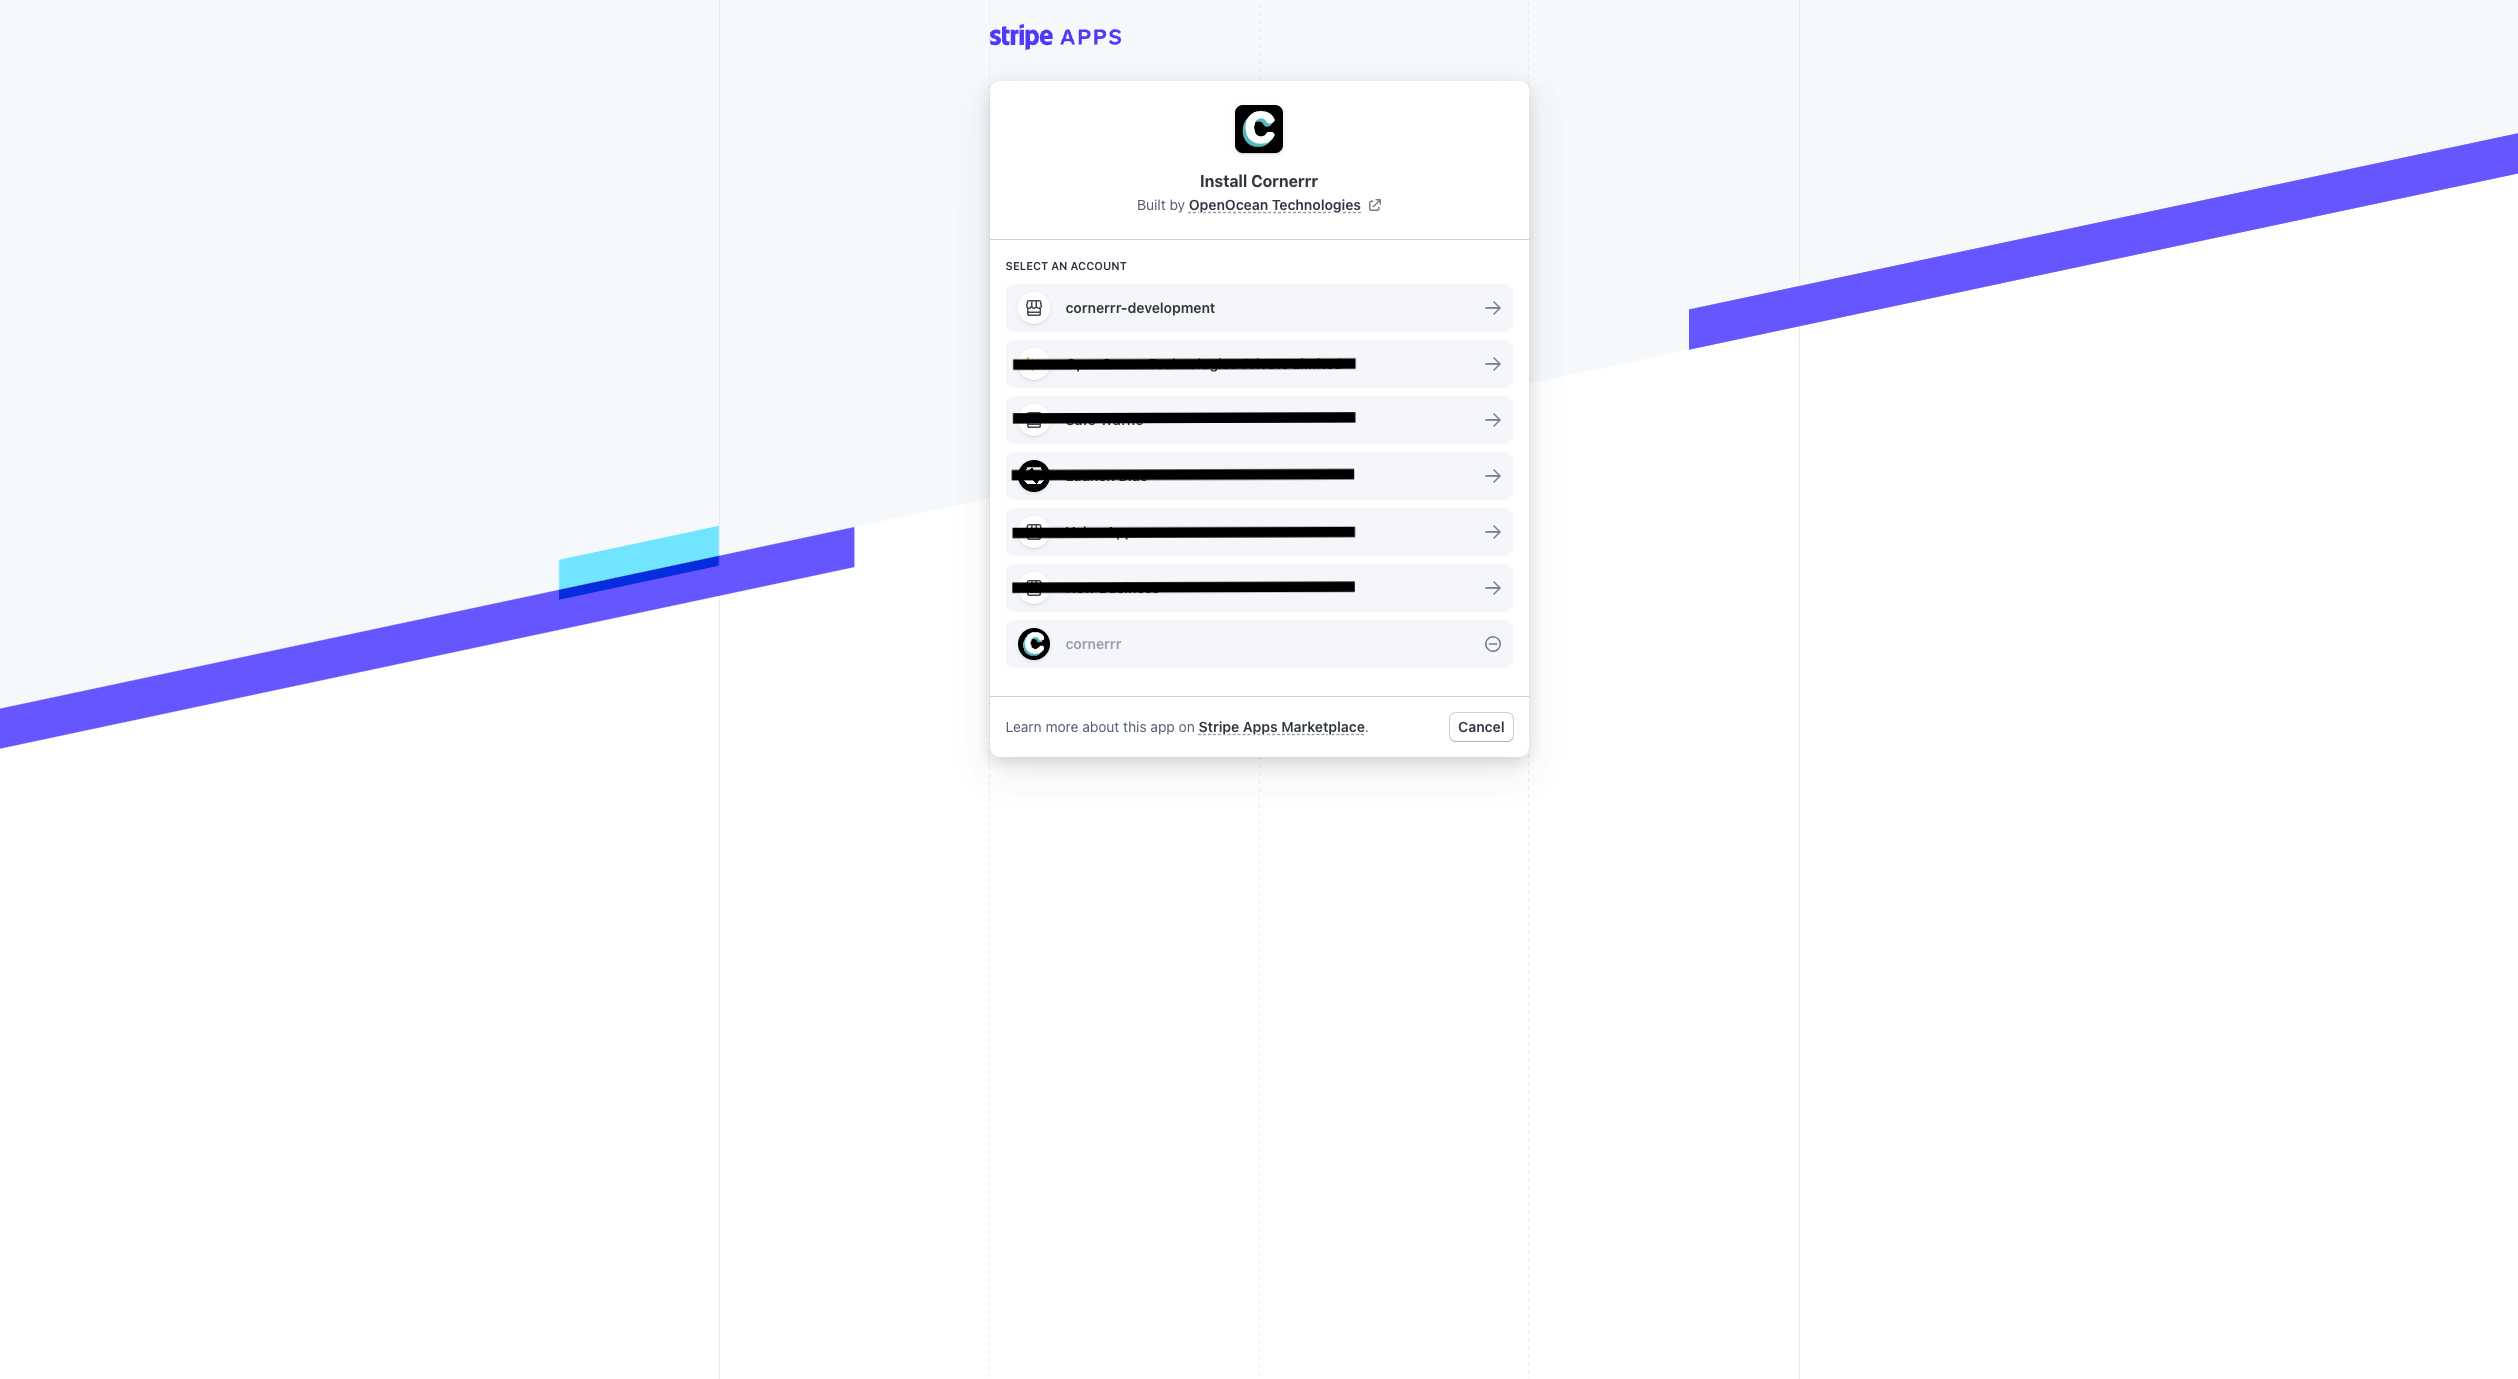 You'll be redirected to the Stripe Install page. Here, select the Stripe account you wish to use for accepting payments. Ensure you are using live mode to install Cornerrr, as this will enable you to accept real payments from customers. Also, complete the Stripe account verification process if you haven't done so already.
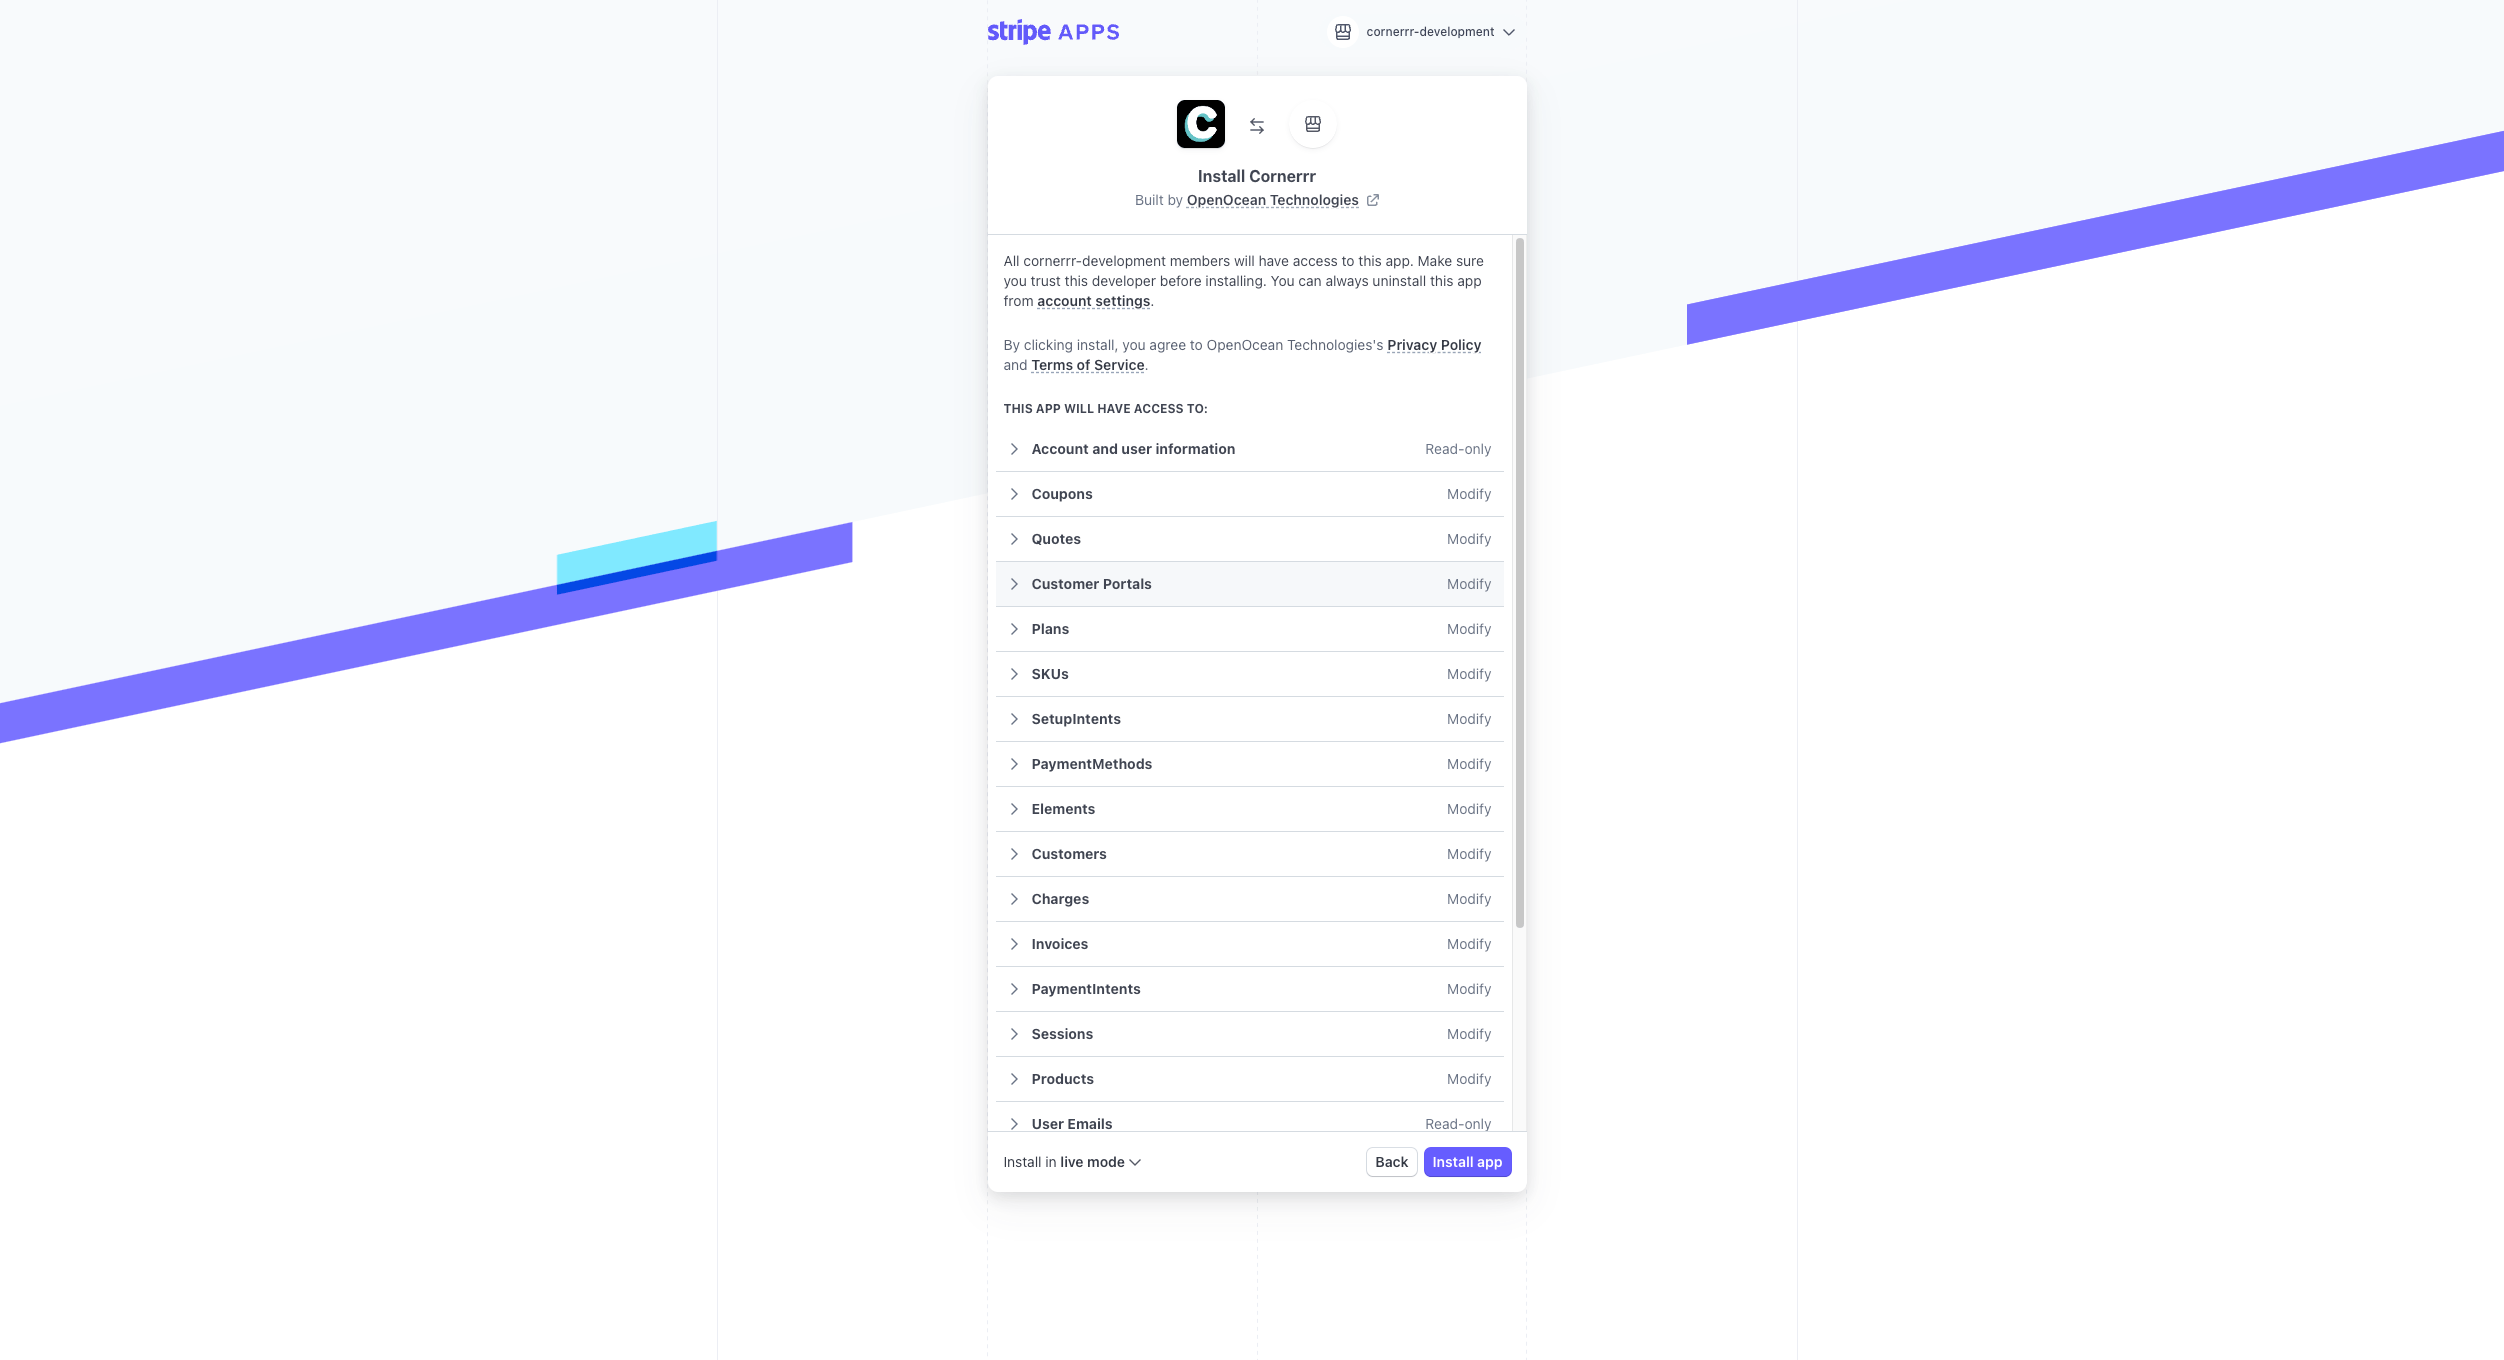 After selecting your Stripe account and completing the necessary steps, click on the Install button. This will integrate Stripe with your Cornerrr store.
Once Stripe is installed, you’ll be redirected back to the onboarding page to continue setting up your store.
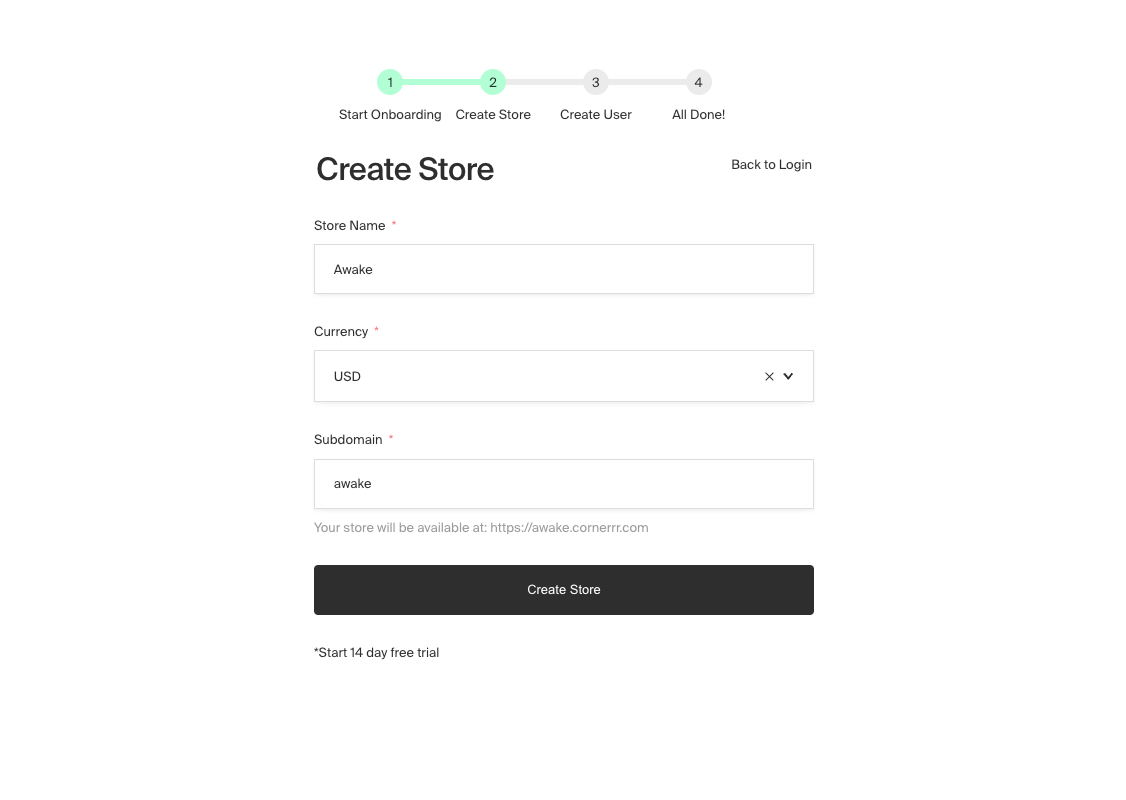 On the onboarding page, you’ll need to enter some essential details for your store:
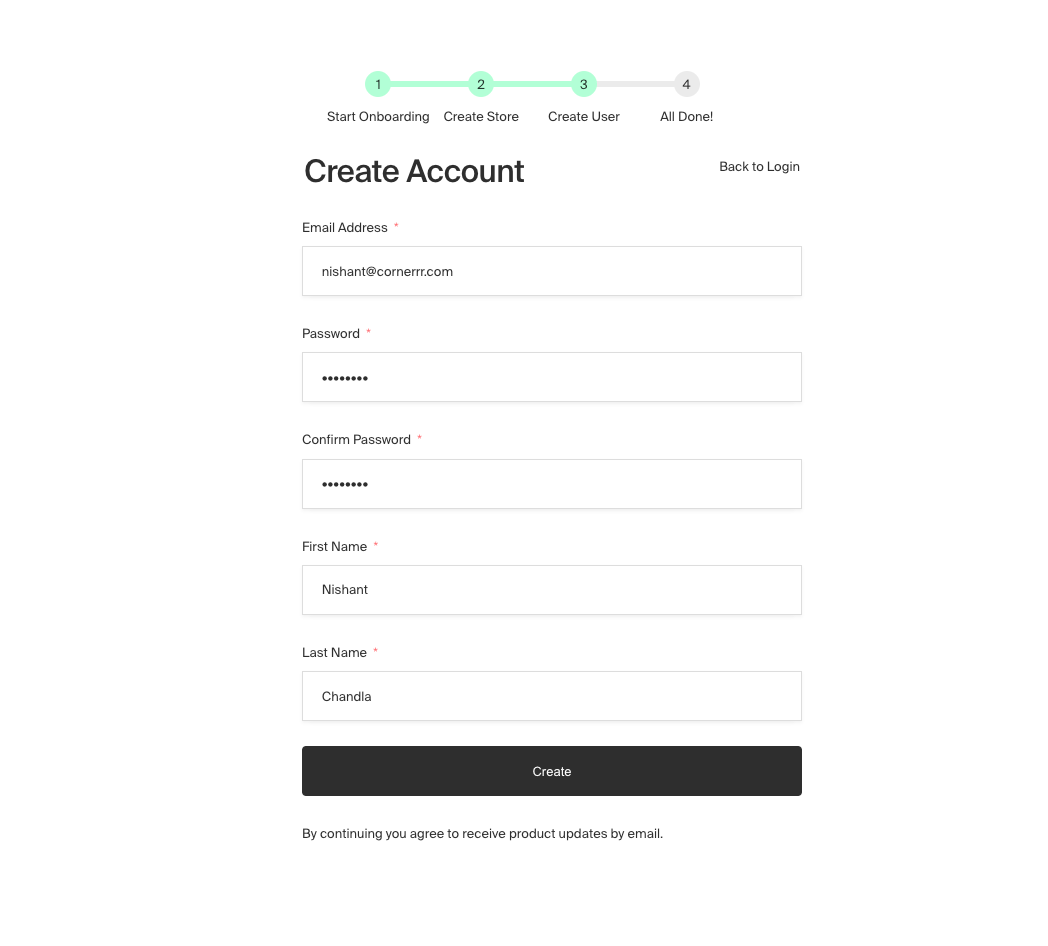 Next, you need to set up your admin account. Enter the following details:
A verification email will be sent to the email address you provided. Click the link in this email to verify your account and complete the setup process.

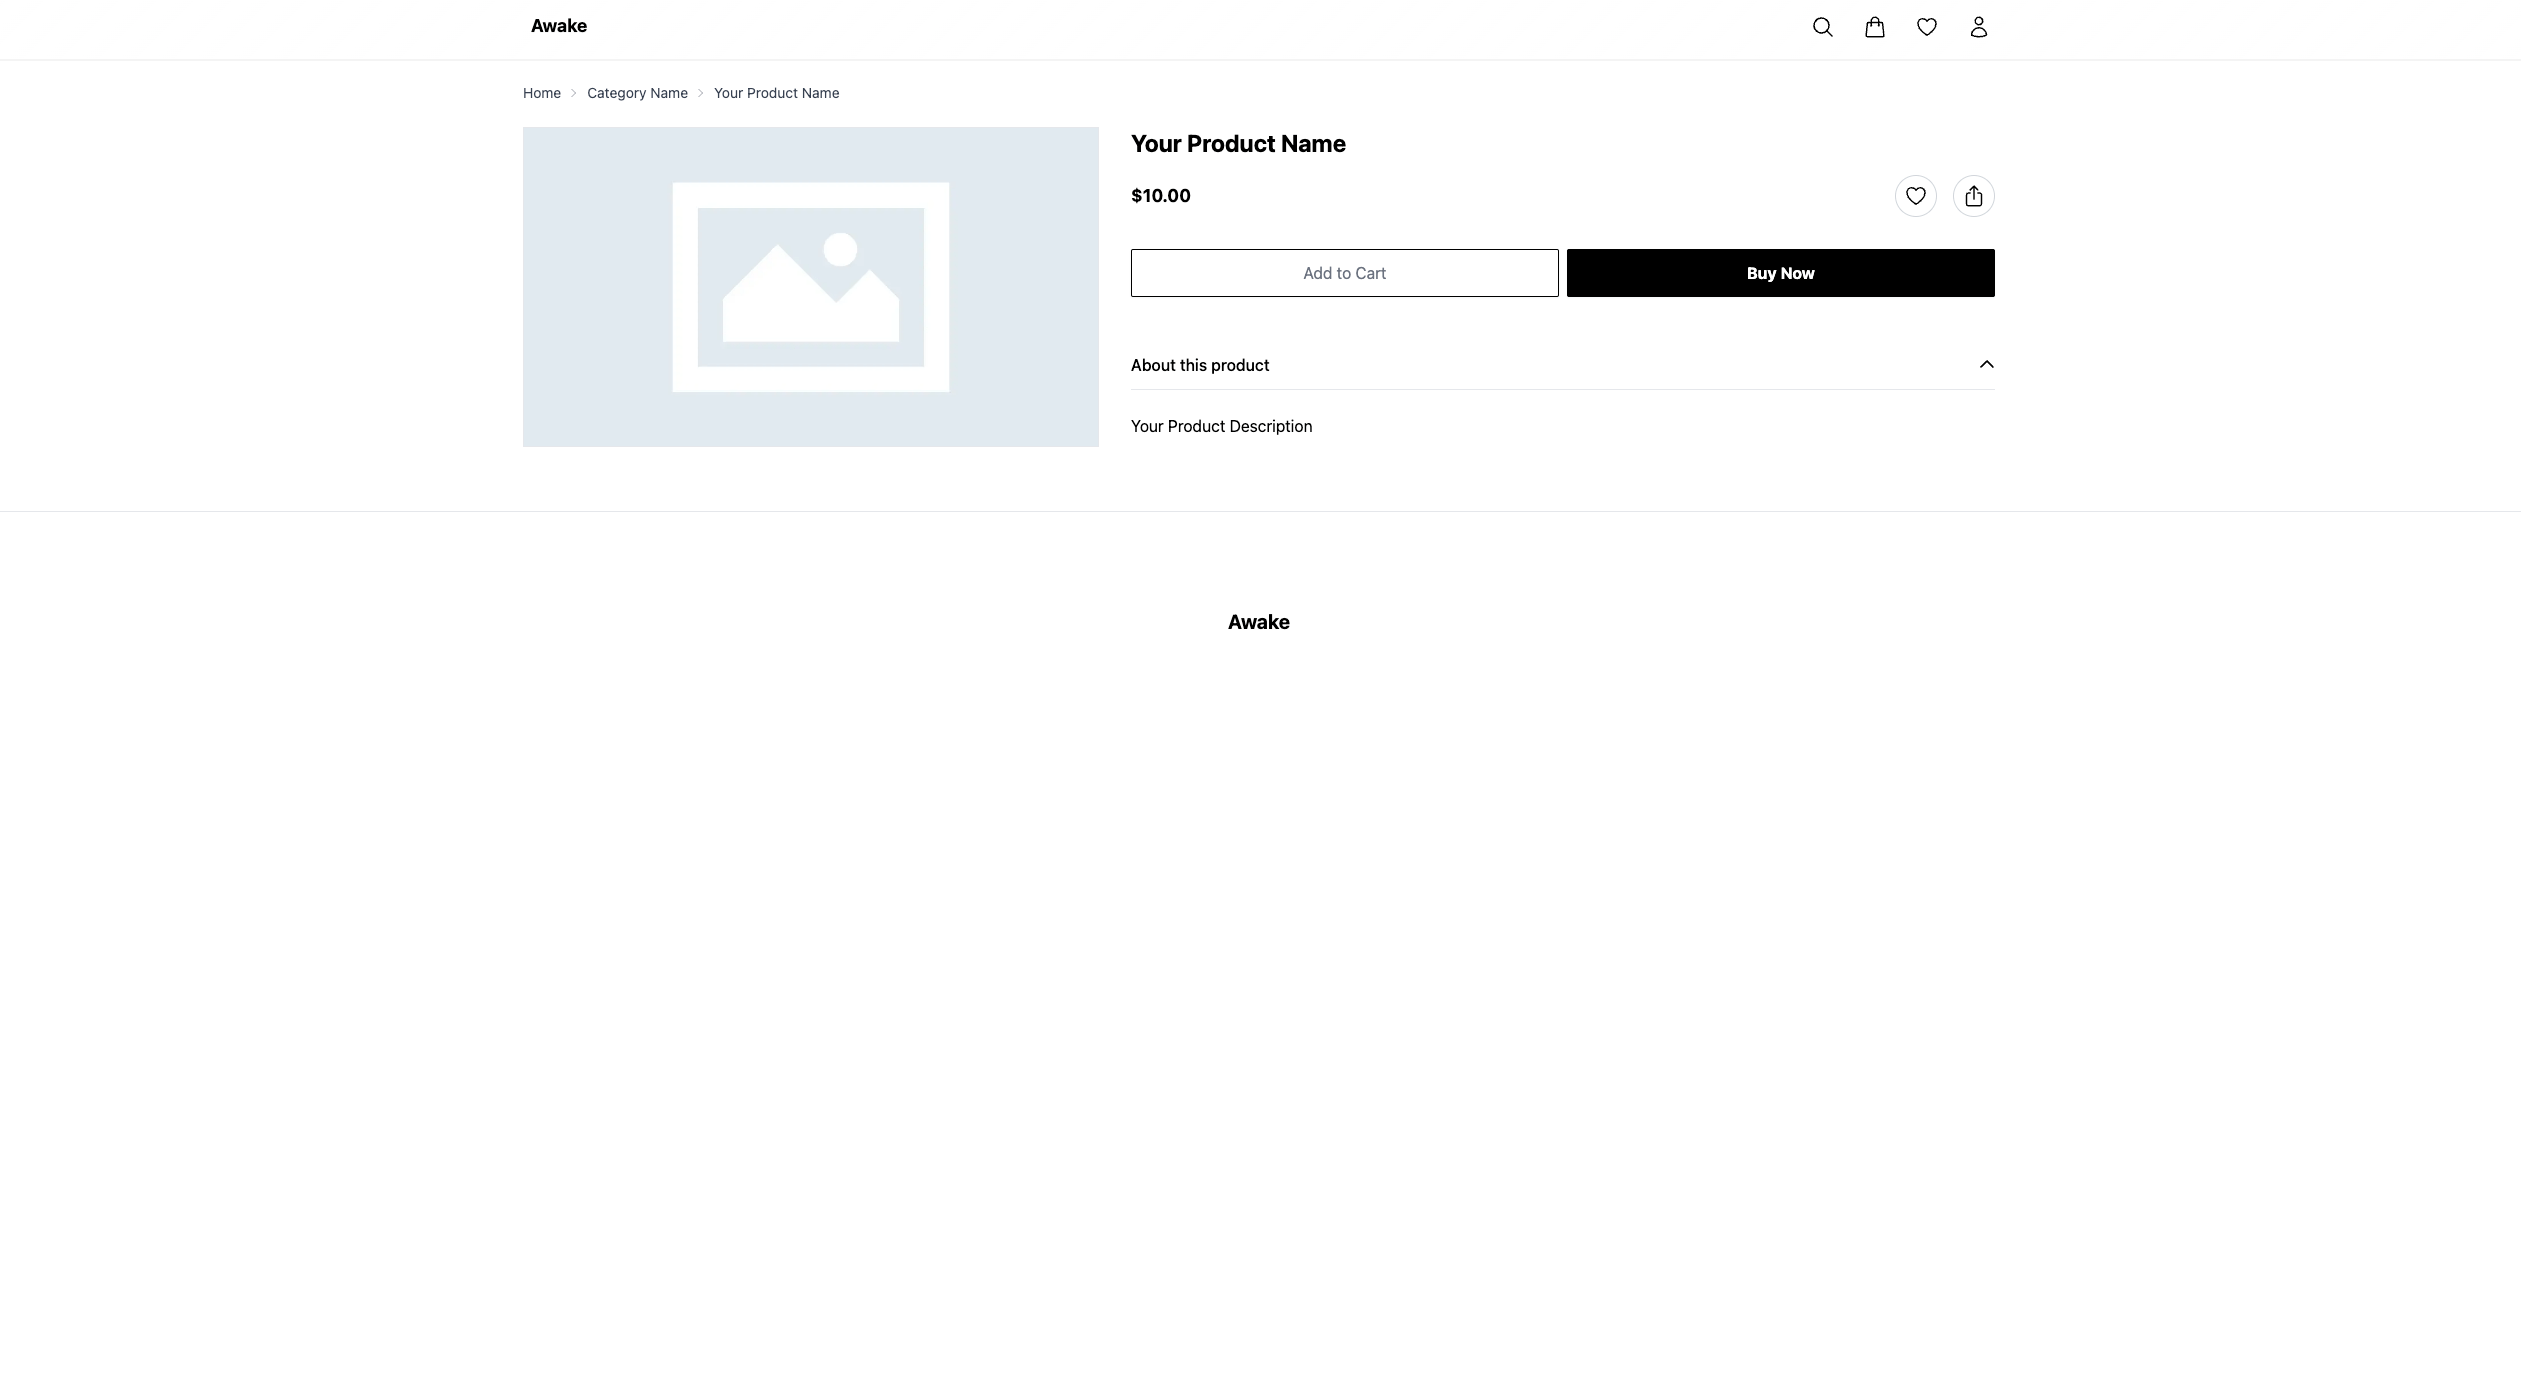
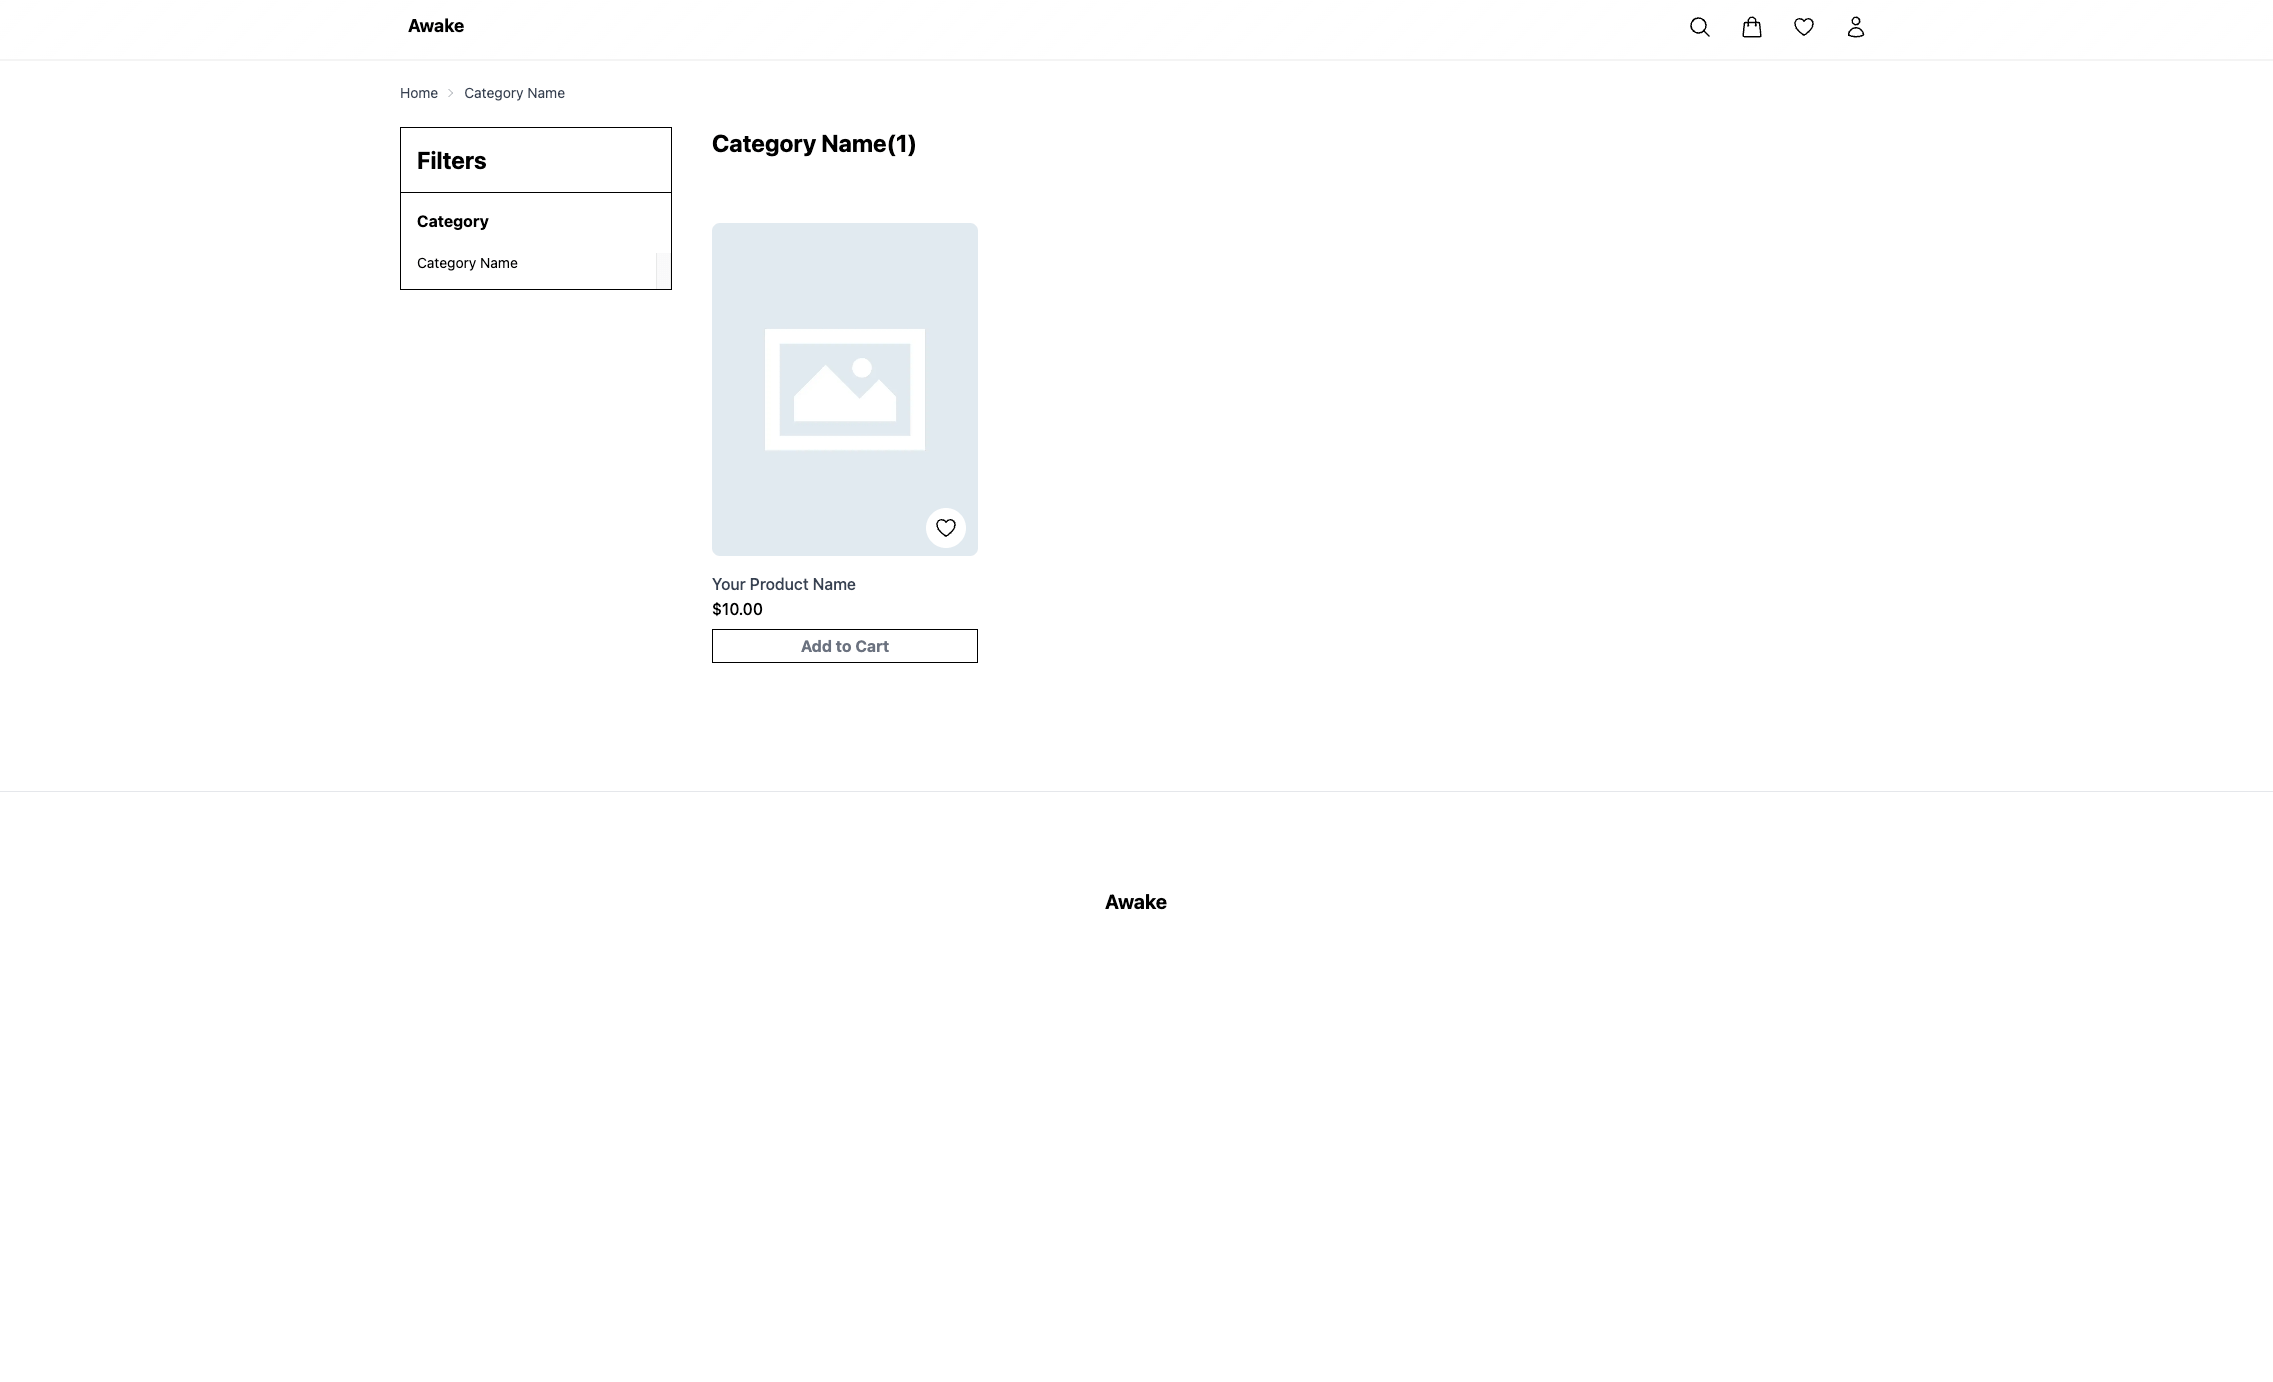
Congratulations! Your store is now live and ready for customers. It will be available at the subdomain you chose (e.g., mystore.cornerrr.com).
 You can access your store’s admin panel by going to subdomain.cornerrr.com/admin or by clicking the Login button at the end of the onboarding process.
Now it’s time to add products to your store. Follow this guide provided by Cornerrr to list your products, including details like descriptions, prices, and images.
How to Create Product in Admin Panel
Creating Categories and Subcategories in Admin Panel
By default, the Dawn theme is applied to your store. However, you can change and customize your store’s appearance to better match your brand. Cornerrr offers a variety of premium themes that you can browse and select from here. Follow the customization guide to apply and tweak your chosen theme.
How to Customize a theme in Admin Panel
Conclusion
Setting up an online ecommerce store with Cornerrr is straightforward and efficient. By following these steps, you can have your store up and running quickly, allowing you to focus on what matters most: growing your business. Happy selling!

It's no secret that turning a lead into a customer is hard. Learn how to increase your conversion rate and make the most of your marketing efforts.

Nishant Chandla

Ready to launch your digital product? From product-market fit to marketing, we'll walk you through everything you need to know to launch a successful digital product.

Nishant Chandla

Search engine optimization (SEO) is a powerful strategy that can help businesses increase their online visibility and drive more organic traffic to their website.

Nishant Chandla